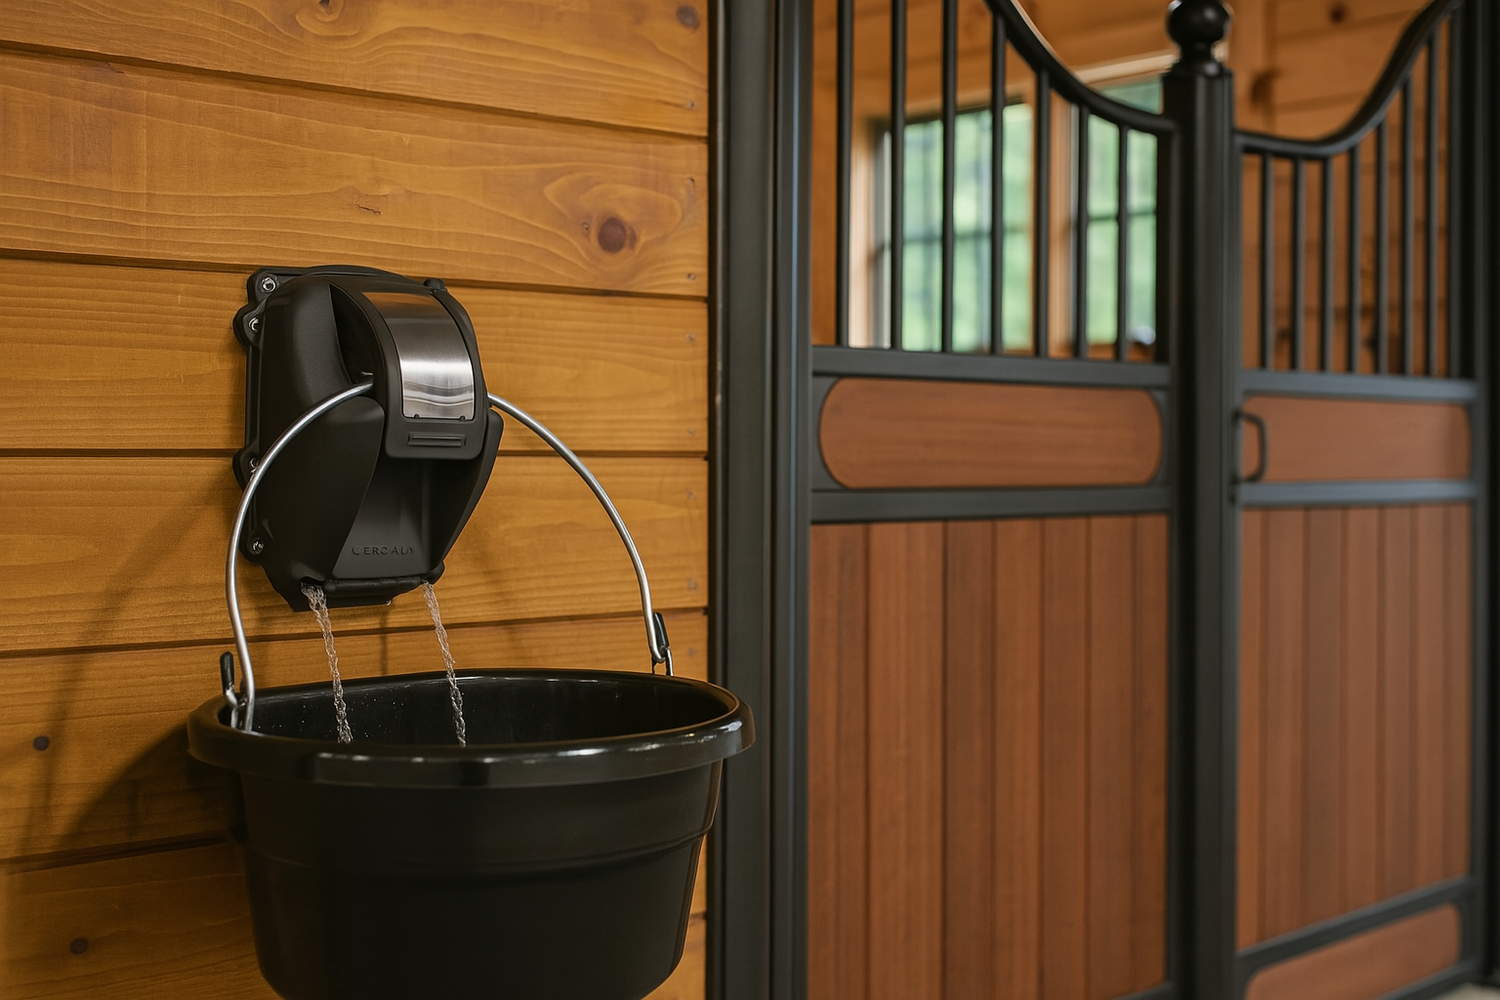
The first step toward living the automatic horse waterer life is installing a permanent water line to each stall. Whether you plan on using Cascada automatic horse waterers or another solution, this is essential to creating a functional and luxurious barn on your property. This guide offers clear, actionable steps to help you set up a reliable system that ensures your horses always have access to fresh water. Whether experienced or tackling this project for the first time, this guide is designed to make the process straightforward and approachable.
Note: The best time to begin this process is during the architectural design phase of your barn. Your contractor will typically want to know where you would like your water lines to go before breaking ground, but they won't need the waterers on hand until later in the build after the stall walls are constructed.
Step 1: Plan Your Plumbing Layout
Key Considerations:
- Water Supply Location: Identify the main water source for your barn. Typically, this will be a well or municipal water supply. It should have its own shut-off valve.
-
Automatic Waterer Placement:
- Avoid placing the waterer next to hay feeders to reduce debris in buckets.
- Keep waterers clear of hay nets or toys that might bump them.
- Mount on a flat, sturdy surface like a stall wall or barn exterior.
- Pipe Routes: Plan the shortest, most efficient paths to reduce cost and pressure drop.
- Individual Shut-Offs: Highly recommended for flexibility and servicing individual stalls.
- In-line Filtration: Use Y-Filters (included with Cascada) or a whole-barn filtration system, especially for well water.
Pro Tip: Sketch your layout and mark water sources, waterers, shut-offs, and filters. Measure and calculate your pipe and fittings list.
Protecting and Concealing Your Water Lines
Barn plumbing is often run on surfaces, buried, or through rafters. Cascada waterers can be installed with lines behind walls or through knockouts on the sides, depending on preference and barn structure.
Retrofitting Existing Barns
Use brackets and surface plumbing methods when retrofitting. Shield accessible lines with conduit or tough materials. Shut-off valves should ideally be outside stalls.
Cold Weather Considerations
Cascada waterers include internal heaters. To keep lines from freezing:
- Bury main and branch lines below frost line.
- Insulate and apply heat tape to exposed sections.
- Install water lines behind walls and enter from the back when possible.
Pro Tip: Use Thermal Tubes to draw geothermal heat up through stall corners or back wall setups for above-ground protection.
Step 2: Gather Tools and Materials
- Pipes: PEX (easiest), PVC, or copper
- Fittings: Elbows, tees, adapters, pipe clamps
- Valves: Shut-off valves for each stall and the main line
- Filters: In-line or whole-barn
- Insulation: Foam pipe wrap
- Heat Tape: For cold climates
- Tools: Pipe cutter, drill, wrenches, tape measure, level
- Sealant: Teflon tape only — Do not use compound sealants like Pipe Dope
- Optional: Trenching tool for buried pipe installation
Step 3: Install the Main Water Line
- Run the main water line from the source to your barn, ideally buried below frost line.
- Protect the line by covering with sand, then backfill.
- Install a shut-off valve where the line enters the barn.
Step 4: Lay Water Lines to Each Stall
- Measure and cut pipe lengths from the main line to each stall.
- Use tees to branch and run lines to waterers. Keep pipes level.
- Install shut-off valves near each stall.
- Install inline filters near each waterer or branch.
Pro Tip: Label shut-off valves for easy identification.
Step 5: Protect Pipes from Freezing in Cold Weather Climates
- Research frost line depth in your area.
- Use foam insulation on exposed lines.
- Install heat tape as needed in cold zones.
- Consider insulated walls, thermal tubes, or heated recirculating systems.
Pro Tip: Plan for a safe electrical outlet outside each stall for heated buckets.
Step 6: Install and Connect Your Automatic Waterers
Note: This section is written for Cascada Automatic Waterers.
- Mount the waterers securely and level. Follow instructions from go.cascadaequine.com/install.
- Flush water lines before connecting — debris can clog the valve if not cleared.
- Attach the pipes using the 1/2" brass MPT fitting included. Use Teflon tape only.
- Run the low-voltage power cord from a junction box to the Cascada, keeping it protected from horses.
Step 7: Test and Verify
- Slowly turn on the main supply and inspect for leaks. Tighten as needed.
- Test waterers for proper filling and valve shut-off.
- Optional: Connect waterers to the Cascada App for hydration tracking and bucket monitoring.
Troubleshooting Common Issues
Low Water Pressure
- Check for debris or clogs.
- Ensure all valves are fully open.
Leaks in the Lines
- Tighten fittings or reapply Teflon tape.
- Replace damaged parts.
Trouble Filling
- Air in the line? Dump and refill a few times.
- No lights or filling? Check power connection.
- Clicking but no water? Confirm shut-off valves are open.
Still having trouble? Reach out to our support team via web chat, email, or call/text 800-959-8045.
Final Thoughts
Was this simpler than you thought it would be? Many people believe they can’t have automatic waterers because the plumbing seems too complicated. Hopefully, this step-by-step guide has shown that it’s easier than it looks!
Pair your barn’s water line layout with Cascada’s 5-minute installation and you’ll have a system that works for you long-term. Questions? Our friendly customer support team is happy to help!


